Installing a door frame correctly is essential for a smooth-swinging, long-lasting door. Whether you’re replacing an old frame or fitting a new one in a fresh opening, this guide will walk you through the process, offering tips for achieving a professional finish.
Understanding Your Needs
Before starting, consider the following:
- Pre-hung vs. Slab Door: Pre-hung doors come with the frame already assembled, making installation easier. Slab doors require you to build the frame from scratch.
- Door Type: Interior doors are typically lighter and require less substantial frames than heavier exterior doors.
- Rough Opening: This is the framed opening in the wall where the door will fit. Ensure your new door and frame match its dimensions.
Tools and Materials
- Pre-hung door or individual frame pieces (if using a slab door)
- Door slab (if using a slab door)
- Level (4-foot level is ideal)
- Tape measure
- Hammer
- Shims
- Drill and drill bits
- Screwdriver
- Finishing nails
- Wood putty
- Paint or stain (optional)
- Safety glasses and gloves
Step-by-Step Installation
1. Prepare the Workspace
- Remove old door and frame (if replacing): Loosen hinges, remove the door, then carefully pry off the old frame and trim.
- Clean and level the opening: Ensure the rough opening is square, level, and free of debris.
2. Assemble the Frame (for slab doors only)
- Cut jambs to size: The side jambs should equal the height of the rough opening, and the head jamb should fit between them with slight gaps on either side for adjustment.
- Assemble the frame: Lay the pieces out and fasten them together using wood glue and screws or finish nails.
3. Position the Frame
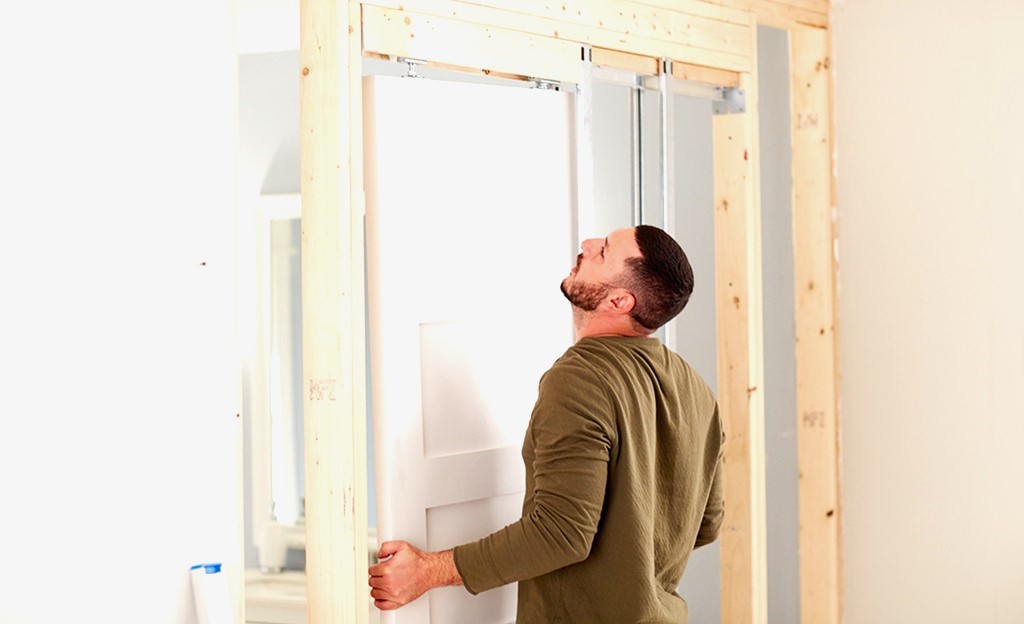
- Dry fit: Place the frame (pre-hung or assembled) into the opening, ensuring it fits snugly.
- Check for level and plumb: Use your level to ensure the frame is level on all sides and plumb (perfectly vertical) on the hinge side.
4. Secure the Frame
- Insert shims: Place shims behind the jambs on both sides of the frame and the top. Adjust them to maintain level and plumb.
- Secure hinge-side first: Drive long screws or nails through the shims and hinge-side jamb into the wall framing.
- Secure latch-side and top: Repeat the process on the opposite side and the head jamb.
5. Test and Insulate
- Test the door (if available): If using a pre-hung door, hang it now and ensure it swings freely and has even gaps around the edges. For slab doors, wait until the door is hung.
- Insulate: Fill the gaps between the frame and rough opening with low-expansion spray foam insulation. Allow the foam to expand and fully cure.
6. Install Trim
- Measure and cut: Measure the casing/trim pieces to fit around the door frame. Miter cuts at 45-degree angles will give corners a professional look.
- Nail in place: Secure the trim to the jambs and surrounding wall using finishing nails.
7. Finishing Touches
- Fill nail holes: Use wood putty to fill nail holes and any gaps. Let dry, then sand for a smooth finish.
- Paint or stain: Finish your new door and frame with paint or wood stain to match your décor and for added protection.
Related: Can I Replace Garage Door Spring Myself?
Additional Tips for Success
- Read the instructions: Consult the manufacturer’s instructions for your specific pre-hung door or frame for any special details.
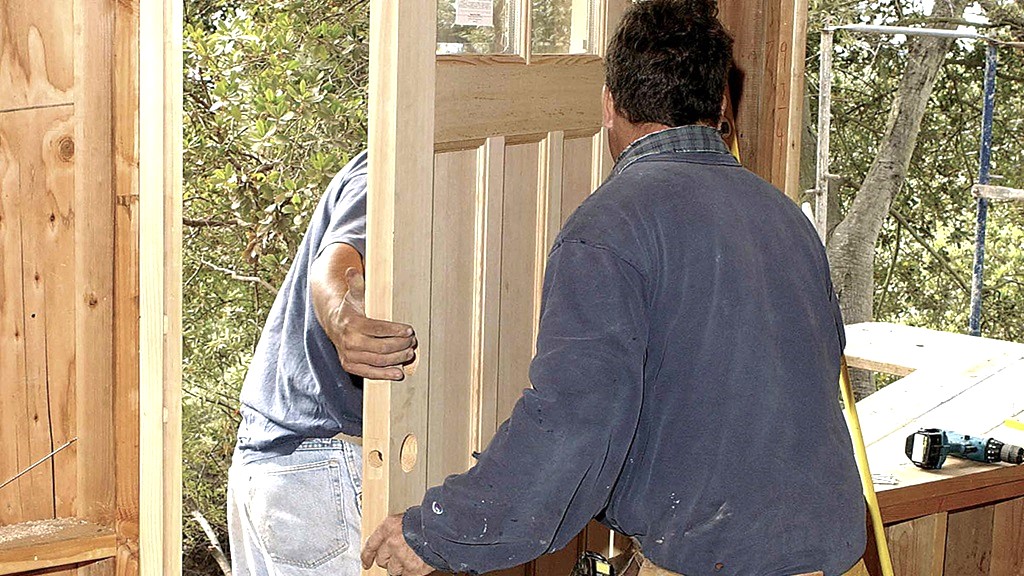
- Work with a helper: An extra pair of hands makes door installation easier, especially when positioning the frame.
- Measure twice, cut once: Careful measurements ensure a perfect fit.
- Double-check level and plumb: Constantly monitor levelness throughout the process to prevent a misaligned door.
- Pre-drill for screws: Pre-drilling in hardwoods will help prevent splitting the frame.
With a little patience and attention to detail, installing a door frame is a manageable DIY project. By following these steps, you’ll create a perfectly functioning and stylish entryway to your space.


