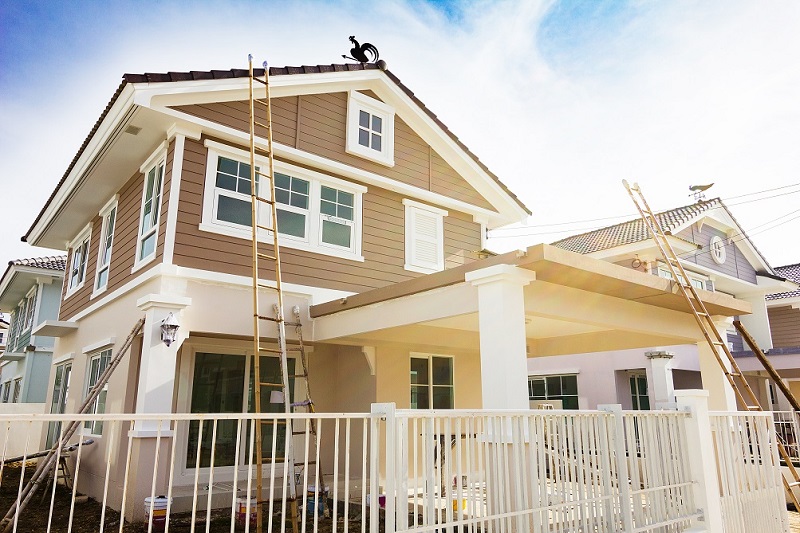
Are you tired of the same old look of your house? Looking to add a fresh coat of color and give your home a new lease of life? Painting your house on your own can be a rewarding and cost-effective project that allows you to showcase your creativity and personalize your living space. In this comprehensive guide, we’ll walk you through how to paint house on your own step by step, ensuring that your DIY painting endeavor turns out to be a success.
Materials You’ll Need
Before you embark on your painting journey, gather these essential materials:
1. Paint and Primer: Choosing the Right Type
Selecting the appropriate paint and primer is crucial for a successful paint job. Whether it’s latex, oil-based, or specialty paint, make sure it suits your walls and the area you’re painting. If you’re looking to paint a piece of furniture, like a dresser or a table, you might want to consider a specialty paint like cherry wood paint. Just remember to always do your research and choose the right paint for your project.
2. Brushes, Rollers, and Other Tools
Invest in high-quality brushes, rollers, painter’s tape, drop cloths, and extension poles. These tools will ensure even application and protect areas you don’t want to paint.
3. Cleaning Supplies
Prepare your walls by cleaning them thoroughly. Use soap and water to remove dirt, grease, and dust. A clean surface will ensure better paint adhesion.
4. Repair Materials
Inspect your walls for any cracks, holes, or imperfections. Fill them using spackle or putty and sand them down for a smooth finish.
Step-by-Step Guide
1. Choose the Right Time
Plan your painting project during a time when the weather is dry and mild. This will help the paint dry evenly and prevent issues caused by humidity.
2. Clear the Area
Move furniture, and decorations, and cover any fixtures you can’t remove. Lay down drop cloths to protect your flooring.
3. Apply Painter’s Tape
Use painter’s tape to protect areas like window frames, baseboards, and trim from accidental paint splatters.
4. Prime the Walls
Priming is essential, especially if you’re changing colors. It creates a smooth surface for the paint to adhere to and enhances the paint’s color.
5. Begin Painting
Start with the edges using a brush, and then move on to larger areas with a roller. Apply the paint evenly, using long vertical or horizontal strokes.
6. Maintain a Wet Edge
To avoid visible lines where wet paint meets dry paint, maintain a wet edge by overlapping your strokes slightly.
7. Second Coat
Allow the first coat to dry completely before applying a second coat. This will ensure a rich and consistent color.
8. Paint Trim and Details
Use a smaller brush to paint trim, corners, and other details. Precision is key here.
9. Remove Painter’s Tape
Peel off the painter’s tape before the paint dries completely. This prevents the tape from pulling off dried paint.
10. Clean Up
Clean your brushes, rollers, and other tools immediately after you finish painting. This will extend their lifespan.
FAQs
- Can I paint over a dark-colored wall with a lighter shade?
Yes, but you might need an extra coat of paint to ensure complete coverage and a consistent color.
- How long does the paint take to dry?
Drying time depends on factors like humidity and paint type. Generally, it takes a few hours for the paint to dry to the touch.
- Can I use water-based paint over oil-based paint?
It’s recommended to prime the surface first if you’re switching between these two types of paint to ensure proper adhesion.
- How do I prevent paint drips?
Avoid overloading your brush or roller with paint, and use long, even strokes.
- What’s the best way to clean painted walls?
Use a mixture of mild soap and water and gently scrub the walls using a soft cloth.
Painting your house on your own can be an enjoyable and fulfilling project. By following these steps and tips, you’ll be able to transform your living space and give it a fresh, vibrant look. Remember, patience and attention to detail are key, and with a little practice, you’ll become a DIY painting pro in no time.


