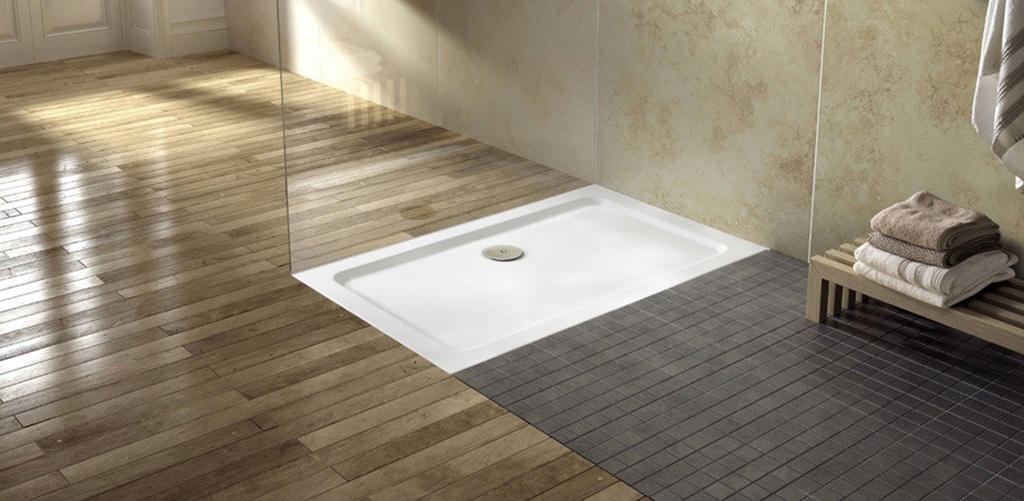
Installing a shower tray yourself is a rewarding DIY project that can significantly enhance your bathroom’s look and function. This step-by-step guide will walk you through the process, ensuring a successful and leak-free installation.
1. Planning and Preparation
- Choose Your Tray: Select a shower tray that fits your space, style, and budget. Consider materials like acrylic, resin, or stone resin, each with varying properties.
- Gather Tools and Materials: You’ll need a measuring tape, spirit level, adjustable wrench, drill, saw (if needed for pipe adjustments), silicone sealant, adhesive (if required), pencil, safety glasses, and dust mask.
- Prepare the Area: Clear the space where the tray will be installed. Ensure the floor is level and sturdy enough to support the tray’s weight. If installing over floorboards, reinforce them.
2. Positioning and Leveling
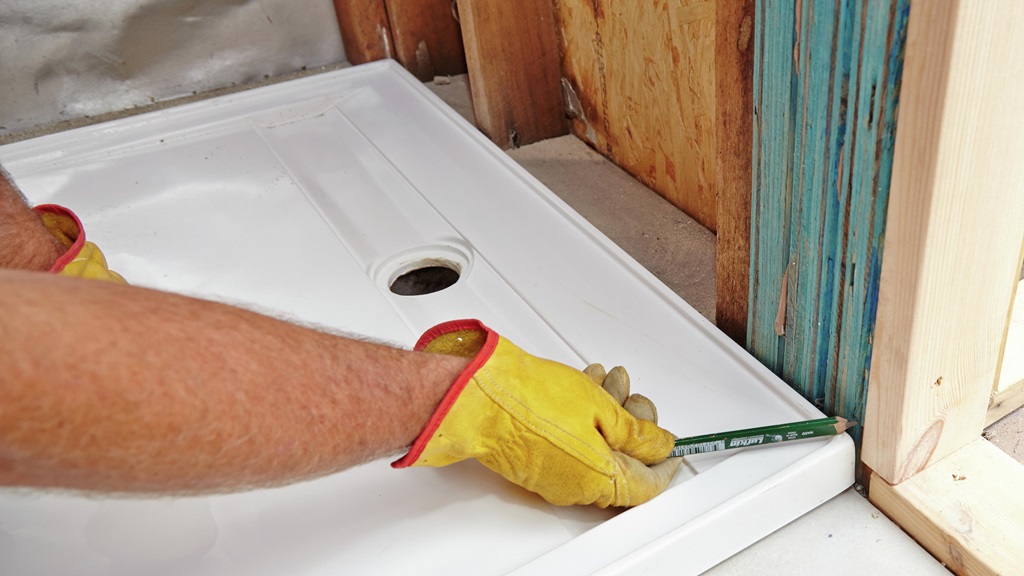
- Dry Fit: Place the tray in position to check for fit and any adjustments needed to pipes or walls.
- Leveling: Use a spirit level to ensure the tray is perfectly level in all directions. Shim the tray with plastic shims if needed to achieve a level surface.
3. Waste Installation
- Connect the Waste: If the tray doesn’t come with pre-installed waste, follow the manufacturer’s instructions to connect the waste fitting. Ensure a tight seal to prevent leaks.
- Connect to the Drain: Align the waste outlet with the drainpipe on the floor. Use a flexible connector if needed to ensure a proper fit.
4. Securing the Tray
- Adhesive (Optional): Depending on the type of tray and floor, you may need to apply adhesive to the underside of the tray before setting it in place.
- Final Placement: Carefully lower the tray onto the prepared area, ensuring the waste is aligned with the drain. Apply pressure to ensure a good bond with the adhesive (if used).
Related: How Long Does a Hot Mop Shower Pan Last?
5. Sealing and Finishing
- Silicone Sealant: Apply a bead of silicone sealant around the edges of the tray where it meets the wall. This prevents water from seeping behind the tray.
- Allow to Cure: Let the silicone sealant cure completely according to the manufacturer’s instructions before using the shower.
Additional Tips:
- Plumbing Considerations: If you’re not comfortable working with plumbing, consider hiring a professional plumber to connect the waste to the drain pipe.
- Side Panels: Some shower trays come with side panels. If yours doesn’t, you can purchase them separately and install them after the tray is secured.
- Shower Enclosure: You’ll need to install a shower enclosure (door or curtain) after the tray is installed. Ensure the enclosure is compatible with your tray’s size and style.
- Maintenance: Regularly clean the shower tray and silicone sealant to prevent mold and mildew buildup.
Important Note:
Always refer to the manufacturer’s instructions for your specific shower tray, as installation steps may vary slightly. If you’re unsure about any part of the process, don’t hesitate to seek help from a professional.
Conclusion
With proper planning and attention to detail, installing a shower tray can be a DIY project you can be proud of. Enjoy your newly upgraded shower and the satisfaction of a job well done!


