Spring is approaching and it is time to bring some color into the house. Here are the trendy nuances and technical suggestions to prepare to renew the domestic environment starting with the walls.
Winter is about to enter its last phase: the harsh climate finally begins to leave its grip to make room for spring, a moment of mutation and renewal even with regard to one’s own home. After spending months with the windows closed and the radiators on, you feel the need to refresh the house, not only in terms of cleanliness but also style.
To change the atmosphere of the home does not necessarily need to resort to complicated renovations or buy new furniture to distort the furniture: a simple touch of color to the interior, even a single room or a single wall, can represent a real transformation.
So if you intend to start the next season giving a new look to your home, this is the best time to find inspiration and think about how to organize the painting work, maybe experimenting with the DIY to minimize costs. In spring, in fact, the temperatures increase and you can keep the windows open and let the painting dry better and faster.
Choose trendy colors
With the right colors you can bring natural light into your home: this spring yellow is trendy in all its nuances, from pale butter to mustard color, and is ideal for bringing some sun even inside the house. Another color that refers to nature outdoors is definitely the greenery, the Pantone color of the year, which can give a touch researched and lively at the same time the interior. The white never goes out of fashion and the stone white, used on the walls, allows you to illuminate even the darkest rooms.
Among the neutral colors, the most popular one this year is the poised taupe, an elegant shade between gray and brown that is the perfect setting for white furniture. The olive green, however, is suitable for a traditional and sophisticated, and it pairs well with furniture and wood finishes. The neutral mushroom is a light shade of very natural beige, with a soothing effect, ideal for giving a Zen touch to your home.
Another alternative and trendy color to be inspired is the violet in its lighter shade, the lilac, a shade with a masculine and feminine character at the same time, and in its darker nuance, the plum color, capable of creating a magical atmosphere if lit up with golden accessories.
Obtain tools and materials
After choosing the color for the walls, and having done some tests by applying a small dose directly on the wall, you will need to determine the right amount of paint based on the width of the surface you intend to paint. In addition to this you will need to get …
- Spatula
- Roller with extendable handle
- Brushes of various sizes
- Paper adhesive tape
- Newspaper
- Nylon sheets
- Stained glass of different grain
- Stucco
- Fixative
- Bucket
Protect furniture and floor
Before starting, it will be necessary to free the walls and protect furniture, furniture and floor from splashes of paint, taking care to protect everything with newspaper or nylon sheets. The adhesive tape is ideal for accurately covering the edges of the skirting boards and door and window frames, sockets and switches. The paper tape is also useful for delimiting the surface that you want to paint, it can be applied for example on the upper edges to avoid stains of color on the ceiling, and on the side edges if you want to paint only one wall of a room. If possible, it is advisable to remove radiators and lamps or to cover them with sheets.
Prepare the surface
To do a good job of painting it is necessary to adequately prepare the surface of the walls eliminating all the imperfections. First of all, it is necessary to remove the nails and dowels, and fill each hole and slit with the spatula. After the stucco has been thoroughly dried, the affected part must be smoothed using finer-grained sandpaper until the surface is homogeneous. This is the longest phase, but it is fundamental, because painting alone does not allow a good result to be obtained and, without these precautions, the imperfections of the wall will always be visible.
Apply the fixative
After removing the residual powder with a cloth, the next step will be to spread a coat of insulating fixative liquid with the roller. This is an optional operation if the walls are in good condition, but it is however recommended to standardize absorption and facilitate the application of paint. Furthermore, a layer of fixative prevents the formation of cracks and peeling.
Spread the painting
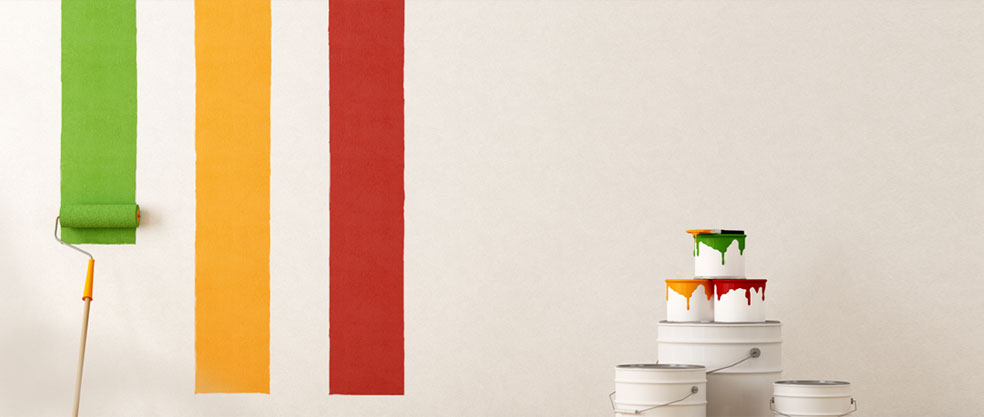
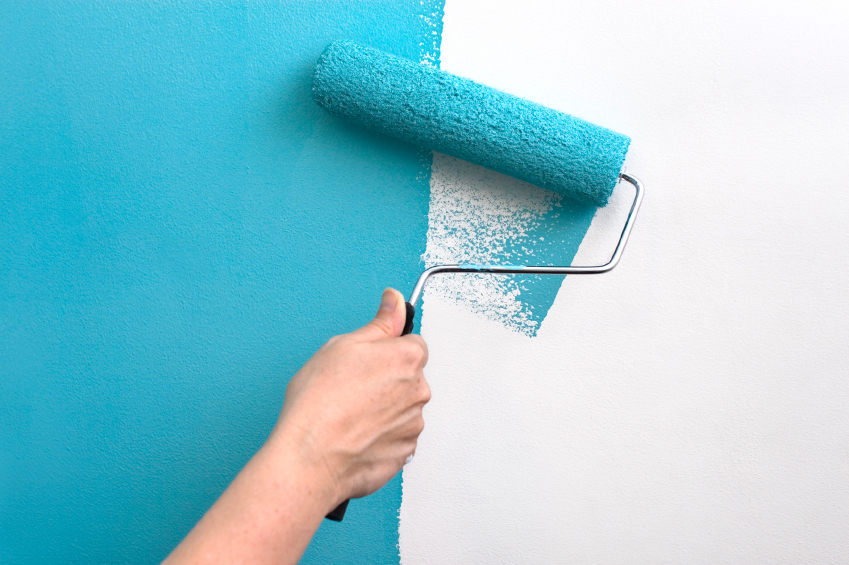
At this point you can prepare the paint, which must be diluted and mixed with water in a bucket. The edges around the fixtures and the skirting boards and, in general, all the most difficult corners are painted with a brush. With the roller the rest of the surface is filled, by painting vertical bands of color crossed with other horizontal ones, alternating each time the painting’s direction. It is advisable to give a second hand, especially if the color below is darker than the current one. Once the paint has dried, all that remains is to remove the adhesive tape, and you’re done!


