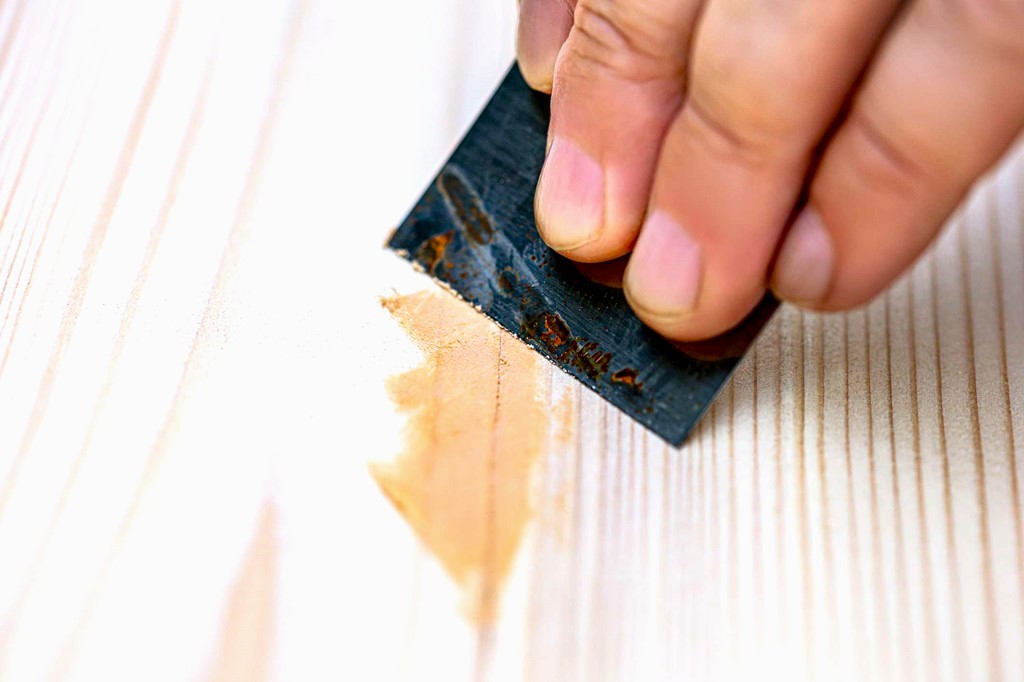
Has your door frame seen better days? Dents, chips, nail holes, or even rot can make your door look shabby and affect its functionality. Fortunately, wood filler offers a relatively simple and affordable solution for many of these issues. With the right approach, you can restore the integrity and appearance of your door frame.
Understanding When Wood Filler is the Right Choice
Wood filler is an excellent solution for:
- Small to medium-sized holes: Nail holes, screw holes, and minor gouges are perfect candidates for wood filler.
- Dents and chips: Shallow dents and chipped areas can be filled and smoothed.
- Minor rot: If rot is limited to a small, non-structural area, wood filler can help after you’ve removed the rotten wood.
However, wood filler might not be suitable for:
- Severe rot: Extensive rot compromises structural integrity, requiring a more substantial repair or even replacement of the frame.
- Large gaps: Wood filler might not hold well in very large gaps or holes.
- Warped or bowed frames: This signals a larger structural issue beyond the scope of wood filler.
Materials & Tools You’ll Need
Before starting, gather the following:
- Wood filler: Several types exist. Opt for a water-based filler for interior repairs or an epoxy-based wood filler for exterior use and increased strength.
- Putty knife: Choose a flexible one to spread the filler efficiently.
- Sandpaper: Pick a range of grits from coarse (60-80) for shaping the filler to fine (180-220) for a smooth finish.
- Tack cloth: For removing sanding dust before painting or staining.
- Wood chisel (optional): To remove rotten wood.
- Paint or stain: To match the current finish of your frame.
- Primer: To prepare the repaired areas for new paint or stain.
- Painter’s tape: To protect surrounding surfaces.
Step-by-Step Guide
- Prepare the area: Remove any loose debris, paint, or splinters. If dealing with minor rot, use a wood chisel to remove any soft, deteriorated wood until you reach solid material.
- Mix the wood filler: Follow the instructions on the product packaging. If using a two-part epoxy filler, mix the components thoroughly until you achieve a uniform color.
- Apply the filler: Use the putty knife to press the wood filler firmly into the damaged area. Slightly overfill as the filler shrinks a bit while drying.
- Shape and smooth: Quickly shape the wood filler, mimicking the surrounding frame’s profile. Use your putty knife to create a relatively smooth surface.
- Allow to dry: Follow the drying time on the filler packaging. This typically ranges from 30 minutes to several hours for deeper repairs.
- Sand the surface: Start with coarse sandpaper to even out the filler surface and gradually move to finer grits to achieve a smooth finish.
- Clean up: Use a tack cloth to remove all sanding dust and debris.
- Prime and paint (or stain): Apply a layer of primer to the repaired area for better paint or stain adhesion. Once the primer is dry, apply your paint or stain to match the rest of the door frame.
Related: How to Install a Door Frame: A Step-by-Step Guide
Advanced Tips for Success
- Practice on scrap wood: If you’re new to wood filler, try working on scrap wood to get comfortable with the technique.
- Build up layers: For deeper holes, apply the wood filler in layers, allowing each layer to dry before applying the next.
- Dealing with rot: Investigate the cause of the rot (e.g., water leak) and repair it before patching with wood filler to prevent reoccurrence.
- Matching stain: Test different stain options on a less visible part of the frame to find the best match before applying it to the repaired area.
Benefits of Using Wood Filler
- Cost-effective: A relatively inexpensive repair solution compared to replacing the whole frame.
- DIY-friendly: A project most homeowners can handle with minimal experience.
- Versatile: Can be used to fix various types of damage.
Remember: With the right tools, preparation, and attention to detail, restoring the look and function of your door frame is within your reach.
Conclusion
Repairing a door frame with wood filler is a straightforward and rewarding DIY project. By following these steps and paying attention to detail, you can effectively address minor damage, rot, and imperfections in your door frame. This will not only improve your door’s appearance but also help ensure its smooth operation for years to come. Don’t be afraid to tackle this project – with a little practice and patience, you can achieve professional-looking results.


