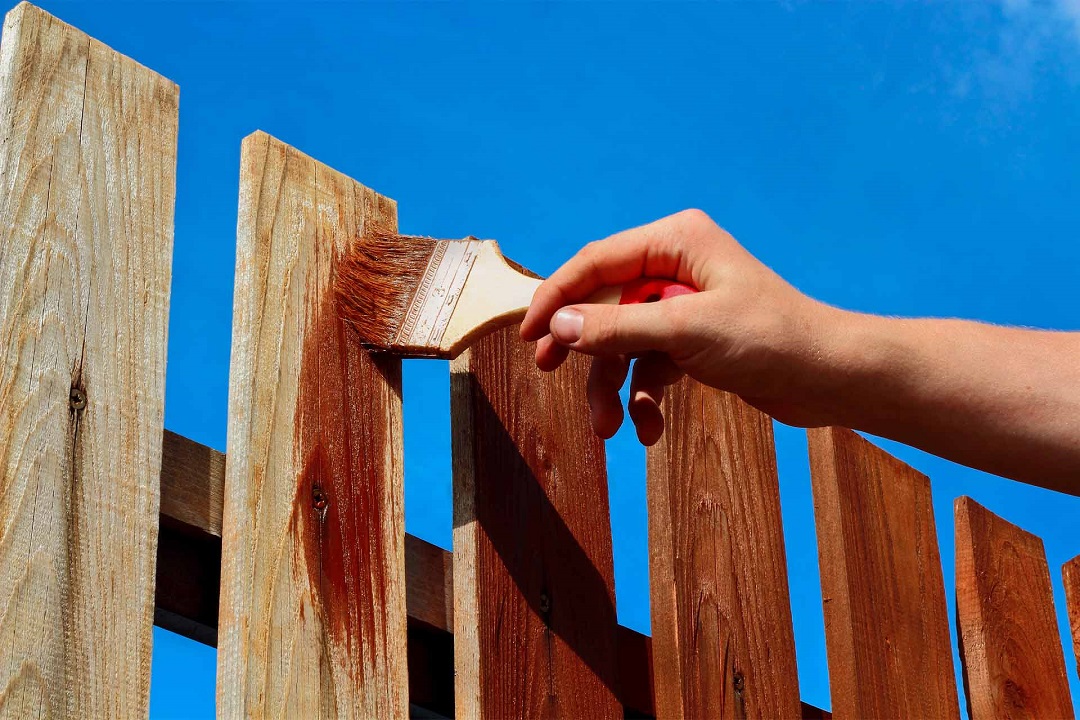
Painting your garden fences can be a simple and rewarding DIY project that adds a fresh look to your outdoor space while also providing protection against the elements. Whether you’re sprucing up an old fence or adding a new coat of paint to a recently installed one, here’s a step-by-step guide on how to paint your garden fences:
Step 1: Gather Your Materials
Before you begin painting, make sure you have all the necessary materials and tools:
- Exterior paint: Choose a high-quality paint specifically formulated for outdoor use.
- Primer (if needed): If your fence is bare wood or has significant discoloration, a primer can help improve paint adhesion and color uniformity.
- Paintbrushes or rollers: Select brushes or rollers suitable for the type of paint you’re using and the texture of your fence.
- Painter’s tape: Use painter’s tape to mask off any areas you don’t want to paint, such as adjacent structures or hardware.
- Drop cloths or plastic sheeting: Protect nearby plants, grass, or structures from paint splatters.
- Sandpaper: If your fence surface is rough or has peeling paint, sanding it lightly can help smooth out imperfections.
Step 2: Prepare the Fence Surface
Proper preparation is crucial for a successful paint job:
- Clean the surface: Remove any dirt, debris, or mildew from the fence surface using a scrub brush and soapy water. Rinse thoroughly and allow the fence to dry completely.
- Sand rough areas: If the fence surface is rough or has peeling paint, lightly sand it with medium-grit sandpaper to smooth out imperfections and create a better surface for paint adhesion.
- Protect surrounding areas: Cover nearby plants, grass, or structures with drop cloths or plastic sheeting to prevent paint splatters.
Step 3: Apply Primer (if Needed)
If your fence requires primer, follow these steps:
- Apply primer evenly over the entire surface using a brush or roller.
- Allow the primer to dry completely according to the manufacturer’s instructions before proceeding.
Step 4: Paint the Fence
Once the surface is prepared, it’s time to start painting:
- Stir the paint: Before painting, stir the paint thoroughly to ensure an even consistency and color.
- Start painting: Dip the brush or roller into the paint and apply a smooth, even coat to the fence surface, working from the top down. Use long, overlapping strokes for best coverage.
- Work in sections: Divide the fence into manageable sections and complete one section at a time to avoid uneven drying or lap marks.
- Apply multiple coats: Depending on the color and condition of your fence, you may need to apply multiple coats of paint for full coverage. Allow each coat to dry completely before applying the next.
- Touch up as needed: After the first coat has dried, inspect the fence for any missed spots or uneven areas and touch up as needed before applying additional coats.
Step 5: Clean Up
Once you’ve finished painting, follow these steps to clean up:
- Clean your brushes, rollers, and other tools with soap and water or according to the instructions on the paint can.
- Remove painter’s tape carefully to avoid damaging the freshly painted surface.
- Dispose of any drop cloths or plastic sheeting used to protect surrounding areas.
Step 6: Allow the Paint to Cure
Allow the paint to dry and cure completely before subjecting the fence to heavy use or exposure to harsh weather conditions. Follow the manufacturer’s recommendations for drying and curing times.
FAQs about Painting Garden Fences:
1. How often should I repaint my garden fence?
The frequency of repainting your garden fence depends on factors such as the type of paint used, weather conditions, and wear and tear. Generally, you may need to repaint every 3-5 years for optimal maintenance.
2. Can I paint my fence in cold weather?
It’s best to paint your fence when temperatures are mild, ideally between 50-85°F (10-30°C). Painting in colder temperatures can affect paint drying and adhesion, so avoid painting when temperatures are near freezing.
3. Should I use a brush or roller to paint my fence?
Both brushes and rollers can be used to paint garden fences. Brushes are ideal for intricate areas and detail work, while rollers are efficient for covering large, flat surfaces. Consider using a combination of both for the best results.
4. Can I paint my fence if it’s wet?
No, it’s essential to paint your fence when the surface is dry to ensure proper adhesion and avoid trapping moisture beneath the paint. Wait for a dry day with low humidity before painting.
5. Do I need to sand my fence before painting?
Sanding the fence surface can help smooth out rough areas and improve paint adhesion, especially if the surface is weathered or has peeling paint. However, if your fence is in good condition, you may be able to skip this step.


