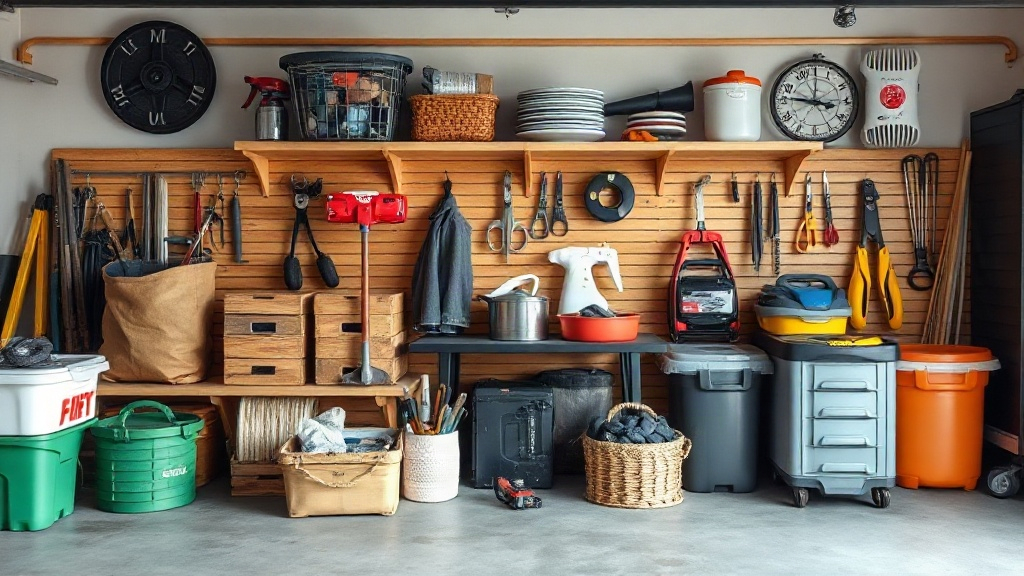
A garage shared by four people rarely fails for lack of shelves; it fails because nobody knows where anything belongs. If your floor disappears under bikes, bags and half-finished projects every few weeks, the fix is not another bin. Garage Organization Ideas for Families: Create Zones Everyone Can Maintain works because it assigns every item a home and every family member a simple rule.
Quick answer: Divide the garage into five or six labeled zones by activity, not by item type: entry, sports, tools, seasonal storage, auto care and overflow. Keep each zone in one reachable spot with open shelving or clear bins, and mount as much as possible off the floor.
This article walks through the zones that hold up to daily family use, the storage pieces worth buying, and the rules that keep the system running once the novelty wears off.
Our picks at a glance
Here is the short version for readers who want to start this weekend. Each pick below earns its place by solving a specific family problem: wet shoes, bulky bikes, sharp tools, or the boxes nobody wants to open twice.
1. A shoe and bag drop zone by the door
Every garage needs one landing spot between the house door and the car. A bench or wall-mounted shoe rack plus four to six hooks handles backpacks, coats, and dog leashes. This zone prevents the kitchen counter from becoming the family’s overflow bin.
2. A floor-to-ceiling bike wall
Bikes eat more floor space than any other family item. Vertical wall racks or a simple rail with hooks lift them out of the walkway. Even children can learn to hang a bike on a low hook at shoulder height.
3. Clear stackable bins with labels
Opaque tubs hide clutter but also hide what you own, so people buy duplicates instead of digging. Clear bins with a printed label solve that. Group by season or owner: “Winter gloves,” “Camping,” “Kid 3 clothes.”
4. A wall-mounted tool board
A pegboard or slatwall keeps hammers, wrenches and scissors visible and off work surfaces. Mount it above waist height and out of reach of small children. One glance tells you whether a tool is missing.
5. Closed metal storage cabinets
Paint cans, chemicals, sharp items and power tools belong behind a door that latches. A locking cabinet protects children and keeps fumes away from sports gear. Place it in the least-used corner.
6. A freestanding shelving unit for seasonal storage
Holiday decorations, out-of-season clothing, and camping gear rotate twice a year. A single steel unit with five or six shelves keeps that rotation in one place. Reserve the top shelf for light, rarely used items.
7. A fold-down workbench
Families need a surface for repairs, craft projects, and package sorting, but a permanent bench swallows parking space. A hinged model folds flat when idle. Choose one that locks upright so it cannot fall on a child.
8. Overhead ceiling storage for long, light items
Ladders, lumber, kayaks and holiday tree boxes suit a ceiling rack. This zone uses space that otherwise sits empty and keeps long items off the floor. Keep the load light and secure the rack to joists.
A bin marked “Winter gear” collects everything from every child. A bin marked “Maya — winter gear” is far more likely to be carried to the right room.
Comparison: open shelving vs. closed cabinets
Open shelves suit items you need weekly and want to see; closed cabinets suit hazards, dust and clutter you want out of sight. Match the material to what you store, not to the photo you liked online.
| Feature | Open shelving | Closed cabinets |
|---|---|---|
| Best for | Sports gear, bins, bulk goods | Chemicals, tools, sharp items |
| Visibility | High | Low |
| Child safety | Moderate | High, if lockable |
| Dust protection | Little | Good |
| Typical cost | Lower | Higher |
Open shelving gets used more because people see it. Closed cabinets protect more, but people forget what is inside, so label the doors.
The list: zones that keep themselves tidy
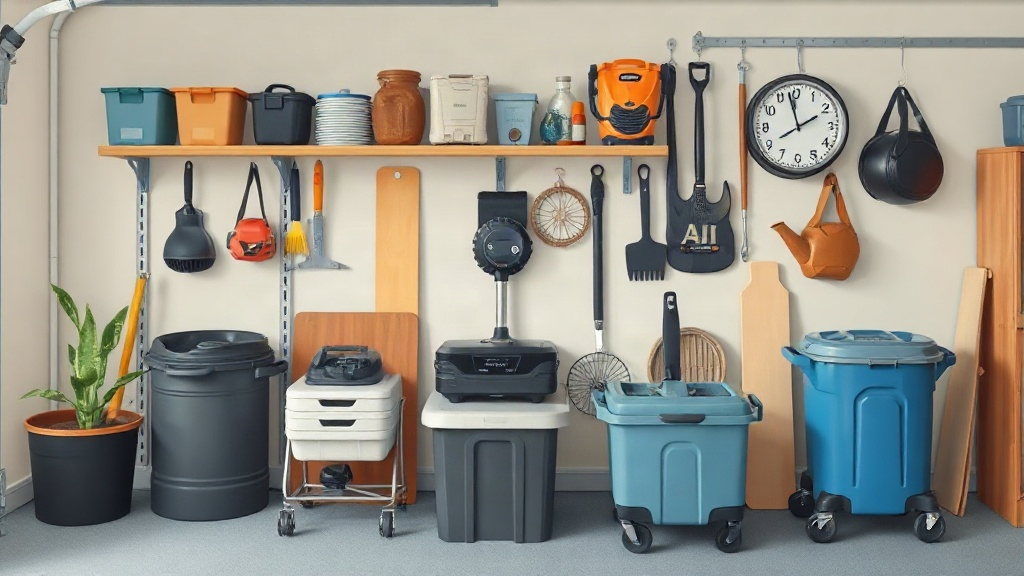
Each zone below solves a real family friction point. Start with the first three, because they handle the mess that lands every day. Add the later zones as time and budget allow.
1. The daily landing zone
This zone handles what enters and leaves the house every day: shoes, bags, keys, school folders, pet gear. Place it within two steps of the interior door, with a bench for sitting to remove shoes. Add a small tray on the wall for keys and a hook per person. When the spot is closer than the kitchen counter, clutter stops migrating indoors.
2. The sports and outdoor zone
Bikes, scooters, helmets, balls and hiking boots need a dedicated bay. Use a vertical rack for wheeled items and a mesh basket per sport. A rain-safe spot for wet gear matters here, because damp shoes left on the floor cause odor and mold. Keep the floor in this zone clear at all times; a clear floor is the fastest way to judge whether the system is working.
3. The tools and repair zone
Reserve one wall or corner for the workbench, tool storage and a small drawer for hardware. Hooks and pegboards keep frequently used tools visible. Store screws and nails in small clear jars or a compartment box. This zone should sit away from children’s traffic paths, ideally near the garage door where projects often begin.
Antifreeze, fertilizers, paints, and solvents must live in a latched, elevated cabinet. The U.S. Consumer Product Safety Commission recommends keeping all household chemicals out of children’s sight and reach.
4. The seasonal rotation zone
Two shelves of clear bins hold winter gear, holiday decorations, and summer gear that is off duty. Rotate in spring and fall and check sizes as you go. Bring out the winter bins and retire sandals, beach towels, and sunscreen. This single swap keeps the entry zone from clogging with items nobody needs for months.
5. The auto and emergency zone
One small shelf near the car door holds jumper cables, a flashlight, a first-aid kit, an ice scraper, and a tire gauge. A wall-mounted hook for the charging cable saves the daily tangle. Add a printed card with the oil-change date and the roadside assistance number. Everything for the car lives together, so nobody hunts for a flashlight in the dark.
6. The overflow and donation zone
Families will always have one corner of unresolved items. Rather than fighting it, label it clearly: one bin for donation and one shelf for things awaiting repair or return. Set a monthly review and empty both. A defined overflow zone stays small; an undefined one grows until it takes over the parking bay.
How to choose the right option
Choosing storage is easier once you accept that the floor is the enemy. Every decision below follows that principle: move items up, make the system visible, and reduce the number of places one item can live.
Measure the car and the walkway first
Park the car in the garage and mark the clearance on the floor with tape. Leave at least enough width to open all four doors fully. The remaining space becomes your storage footprint. Most families discover they have 16 to 24 inches of depth along one or two walls, which is enough for standard shelving but not for deep workbenches.
Wall depth measurements decide your shopping list:
- 12 inches suits pegboard, hooks and shallow tool cabinets.
- 16 to 18 inches fits standard bins and most shelving units.
- 24 inches suits deep cabinets and bulky sports gear.
Match the zone to the traffic pattern
The beach gear should not sit behind the snowblower. Put the most-used zones nearest the house door and the least-used zones in corners and overhead. Seasonal boxes and long ladders belong farthest from the daily path. If a zone requires stepping over something to reach it, people will abandon it within a month.
Set a realistic budget
You can build a working system in three price tiers. A hook-and-rail setup plus a few clear bins is the cheapest option and can be assembled with basics from hardware stores. A midrange plan adds a shelving unit, a wall rack for bikes, and a locking cabinet. The premium tier adds slatwall, a fold-down bench, and ceiling racks. Pick the tier that matches your commitment, not your ambitions; an unlabeled wall of expensive cabinets is no better than a labelled set of hooks.
Families rarely outgrow their shelves. They stop using them because nothing tells them where an item belongs, so labels and simple rules matter more than the brand of the rack.
Build the rules everyone can follow
A zone works only if the people using it know the rules. Agree on three at most, such as:
- Every item returns to its zone before bed.
- Nothing blocks the walkway between the door and the car.
- The donation bin gets emptied on the first Sunday of each month.
Write the rules on a sign inside the garage. Kids follow visible rules more reliably than spoken ones. A single weekly five-minute tidy is enough to reset the zones after a busy weekend.
Check safety before you buy
Anchor tall shelving units to wall studs. Never store heavy items above shoulder height, especially over the car. Keep pesticides and antifreeze in a locked, elevated cabinet. Install a light near the workbench and the entry zone, because dark corners become dumping grounds. Test how a child’s reach aligns with each hook and bin before you settle on its position.
FAQ
How long does it take to set up garage zones?
A simple version with hooks, bins, and one shelving unit takes a weekend for two people. Most of that time goes to sorting and discarding, not installation. Plan for an afternoon of emptying, then a few hours of mounting.
How much should a family expect to spend?
A basic hook-and-bin setup is the cheapest tier. Midrange systems with shelving and a bike rack sit in the middle. Slatwall, locking cabinets and ceiling racks push the total higher. Start with the daily landing zone and add pieces as you find gaps.
What is the biggest mistake families make?
Skipping labels and using opaque bins. Hidden storage hides duplicates, so people buy what they already own. Clear bins and consistent labels solve this problem in an afternoon. Deep shelves in narrow garages are another common error.
How do I keep kids from pulling everything out?
Place kids’ items at their eye level and use easy-open bins. Hooks and low shelves invite correct use. Lock anything hazardous, and keep the number of rules small enough to remember.
How often should we review the zones?
Once a month, with a longer reset in spring and fall when seasonal gear rotates. Check sizes during the fall swap, and clear the donation bin at each review.
Conclusion
Garage Organization Ideas for Families: Create Zones Everyone Can Maintain follow a simple logic: assign each activity a spot, keep that spot visible, and make the rules short enough for a child to follow. The daily landing zone and the sports bay do most of the work. Add the seasonal, auto and overflow zones as life demands. Anchor heavy items, lock up anything toxic, and label by owner.
Pick one zone, clear the floor in that corner, and mount your first hooks this weekend. Once the family sees how much easier the door is to use, the next zone becomes an easy sell.