Can you roll stain on a deck? If you’re unsure, it’s worth exploring as the rolling stain can create an attractive, uniform look that enhances the wood grain while protecting the surface.”However, it’s a project requiring thorough planning and preparation. Careful prep work, proper tools, and attention to detail during application are essential for success. With some effort, you can renew your deck with a fresh stain that offers protection and aesthetics and saves money compared to replacements. This article provides a step-by-step guide to rolling stains on a deck smoothly and efficiently.
Why Stain a Wood Deck?
Staining a deck serves multiple purposes:
Protection – The stain contains oils, resins, and pigments that penetrate the wood cells. This helps protect against moisture, UV rays, and other damage that can cause cracks, splinters, warping, and decay over time. Stain acts as a shield to preserve board integrity.
Appearance – Stain transforms the look of the wood, enhancing the natural patterns and tones. Different stains can dramatically change the color to create variation. This allows the deck to match or complement exterior surfaces.
Renewal – Weather, foot traffic, and time can fade and wear down a deck’s surface. A fresh coat of stain restores it to its former glory. This spruces the space and makes the entire area appear cleaner and more inviting.
Value – Staining extends the lifespan of the deck by protecting the wood. This adds value and saves money compared to replacing rotting, hazardous boards. Keeping the deck in top shape can also positively impact home resale.
Planning Your Staining Project
Careful planning ensures the stain application goes smoothly and efficiently.
Here are the key steps:
- Check the weather – Stain requires dry conditions with temperatures between 50-90°F. Pay close attention to the forecast to pick optimal days.
- Select a stain – Consider the color, sheen, and oil or water-based formula you prefer. Test samples first.
- Calculate the amount needed – Measure the square footage of your deck to buy sufficient stain. Having extra is better than running out mid-project.
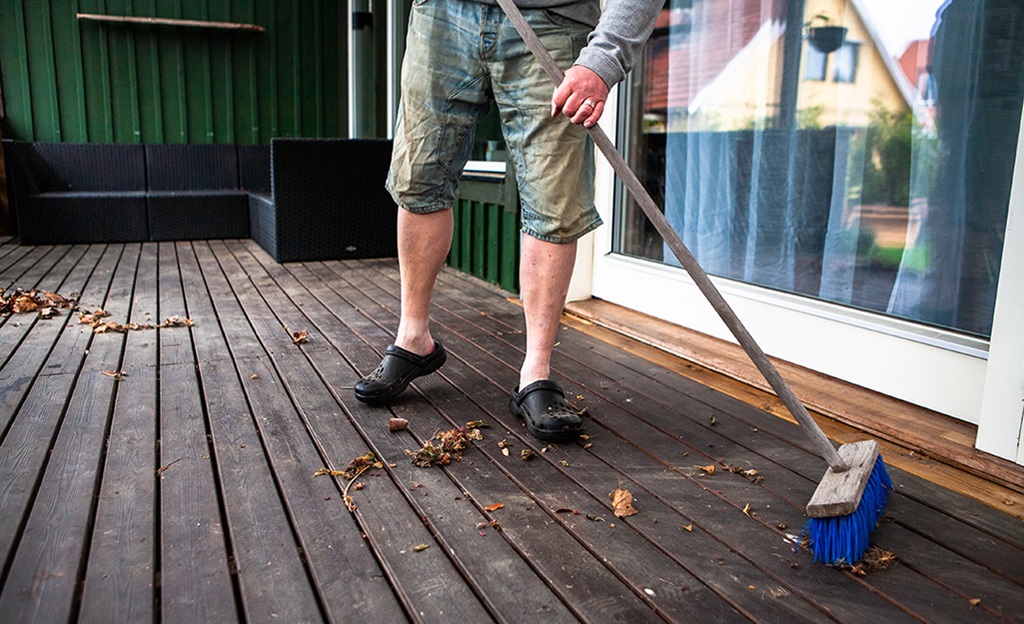
- Clear the area – Remove all furniture, plants, and decor from the deck. Clean off any dirt or debris.
- Gather supplies – Assemble all the necessary tools like brushes, roller handles, rags, paint trays, and safety equipment.
- Plan days needed – Staining is time-consuming. Budget adequate days based on your deck’s size and whether you’ll do it alone or have help.
Choosing an Appropriate Deck Stain
With many options on the market, selecting the ideal stain may seem daunting initially.
Focus on these factors:
Oil or Water-Based
- Oil-based stains penetrate wood grain deeply and offer excellent protection. However, they take longer to dry and clean up and require solvents like mineral spirits.
- Water-based stains are more accessible to apply. They clean with soap and water. But they don’t penetrate as deeply and may require more frequent reapplication.
Transparent, Semi-Transparent, or Solid Color
- Transparent stains allow the natural wood tones to show through while adding a sheer tint. This is great for highlighting grain.
- Semi-transparent stains make the grain visible but impart more coloration. The wood still shows its pattern underneath.
- Solid color spots give full coverage like paint. This masks the grain and planks for a uniformly painted look.
Color and Tone
- Select stains in earthy transparent hues like cedar, redwood, or walnut for a natural wood appearance.
- Go bold with deep semi-transparent stains in shades like crimson, ebony, or navy.
- Pastel solid stains like sage, sky blue, or peach transform the aesthetic.
Sheen Level
- High gloss stains offer vivid color and lots of shine. This works on contemporary decks.
- Satin or low-luster stains provide a subtle sheen. This is ideal for rustic or traditional spaces.
- Matte stains have no shine and a flat finish. Use this for a natural, muted look.
Prepping a Deck for Stain
Proper prep work ensures the stain adheres well and provides maximum protection:
Deep Clean
Use a deck cleaning solution and a stiff scrub brush to remove built-up dirt, mildew stains, and old flaking stains. Rinse thoroughly.
Repair Damage
Inspect for cracked boards, rot, splintering, loose nails, and other flaws. Make all necessary fixes before staining.
Smooth the Surface
Lightly sand to remove residue and roughness. This helps the stain penetrate evenly.
Remove Accessories
Take off stair railings, fixtures, hardware, lighting, and anything else attached to the deck.
Use Wood Brightener
Applying this mildly acidic solution opens the pores and bleaches away grayness.
Dry Time
Allow 1-2 days of dry, sunny weather for the deck to completely dry before staining.
Cover Vegetation
Protect plants near the deck with tarps. Stains can harm grass, plants, and flower beds if dropped or spilled.
With prep work complete, the deck is ready for staining.
How to Apply Stain with a Roller
Rolling is the quickest and most efficient way to stain a deck. Follow these steps:
1. Prepare your supplies
You’ll need a paint roller, roller tray, angled brush, rags, plastic sheeting or tarps, and foam mini roller for hard-to-reach spots. Select a stain-resistant, 1/4″-3/8″ nap roller cover. Have gloves and eye protection on hand, too.
2. Stir and test the stain
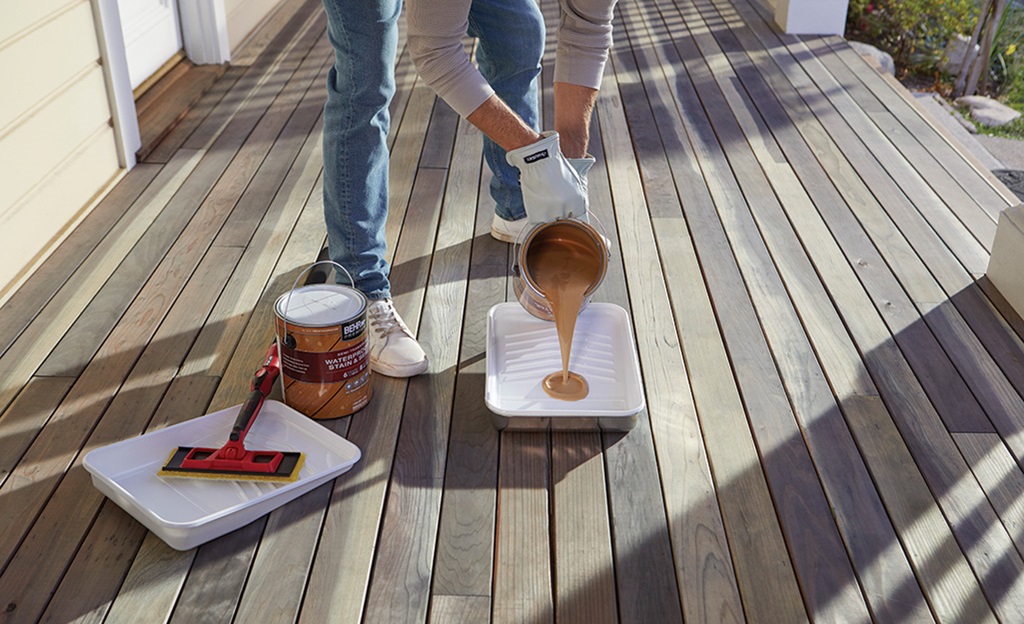
Thoroughly mix the stain to distribute the pigment evenly before pouring some into the roller tray. Brush a bit onto a hidden spot to test color and absorption.
3. Cover surrounding areas
Lay drop cloths over plants, grass, concrete, siding, and anything else bordering the deck to safeguard from drips.
4. Start on the railings
It’s easier to stain railings first before the floorboards. Use a small foam roller for spindles and balusters. Go horizontally with an angled brush.
5. Roll on the stain
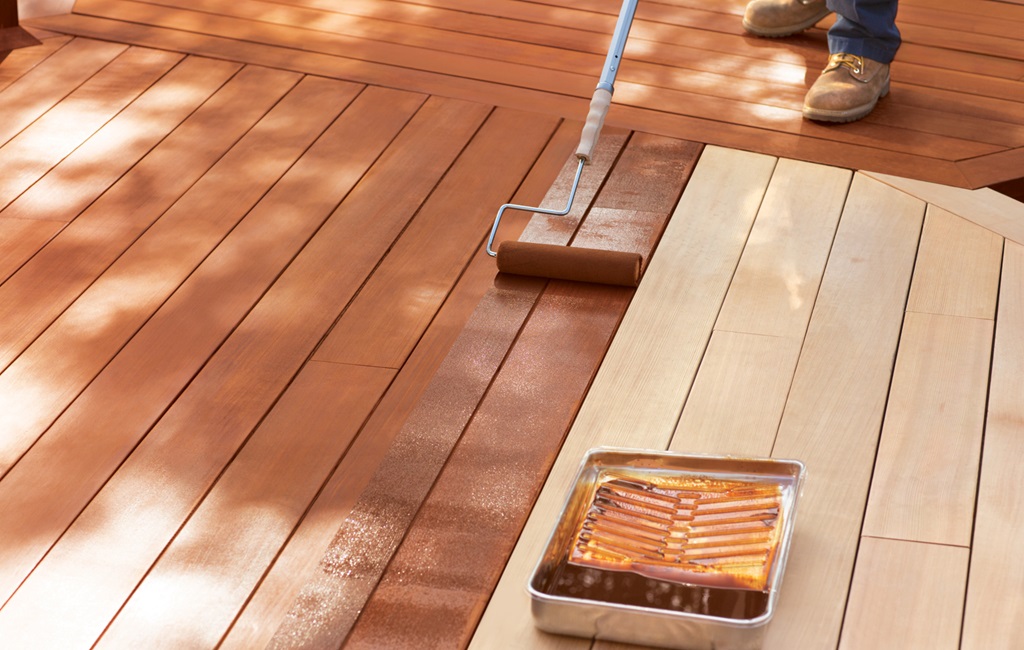
Dip the roller into the tray and lightly saturate it. Apply along the wood grain, rolling in a ‘W’ pattern. Work in manageable sections of 2-3 boards widthwise across the deck.
6. Maintain a wet edge
Stroke back over areas you just stained to keep a wet edge and prevent lap marks as you progress across the boards. Move quickly!
7. Brush problem spots
Use the angled brush to coat corners, crevices, stairs, and vertical surfaces the roller can’t easily reach.
8. Allow time to dry
Let the stain dry per the manufacturer’s recommendations before adding a second coat or walking on the deck. Proper dry time is imperative!
9. Apply a second coat
For maximum protection, repeat the process to add a second thin coat. Two coats ensure full, even coverage.
10. Clean up promptly
Once the final coat is down, wash out brushes and other tools with the appropriate solvent. Don’t let the stain dry on them.
With some practice getting the feel of applying stain with a roller, you can develop an efficient technique to deliver smooth, consistent coverage. Take your time working board to board. The results will be worth it!
5 Common Mistakes to Avoid When Staining a Deck
It’s easy for staining projects to go awry without proper precautions.
Be aware of these common pitfalls:
- Choosing the lousy weather – Heat causes the stain to dry too fast, while cold and dampness prevent proper curing—only stains in the optimal 50-90°F temperature range.
- Not preparing adequately – Skipping vital steps like deep cleaning or sanding leads to poor stain adhesion and an uneven blotchy appearance.
- Failing to protect plants & other surfaces – Stain dripping onto vegetation can damage or kill plants. Drips on siding and concrete are also problematic. Lack of tarps causes messy overspray.
- Applying stain too thickly – The first coat should penetrate the wood, not create a thick film on top. Using too much stain prevents drying and risks tackiness.
- Not allowing proper dry time – Rushing leads to stickiness, smudges, and offsetting. Be sure the stain is thoroughly cured before adding another coat.
Careful planning, patience, and close attention to detail will help you achieve professional-looking results and avoid common pitfalls.
5 Tips for Maintaining a Stained Deck
Annual maintenance preserves your deck’s stained surface:
- Clean regularly – Use a deck cleaner and stiff brush at least once a year to remove dirt, mildew, and other buildup. Avoid harsh bleach and acid solutions.
- Inspect for damage – Check for splintered boards, loose nails, cracked railings, and other deterioration annually. Make all necessary repairs promptly.
- Re-apply stain every 2-4 years – How long the stain lasts depends on the wood type, sun exposure, and weathering. Renew when fading or wearing occurs.
- Prep properly before re-staining – Clean grime, lightly sand, and brighten the wood so the new stain adheres and penetrates appropriately.
- Spot treat as needed – For localized damage or heavy wear, do spot repairs and re-stain only those affected areas rather than the entire deck.
With regular care, your stained deck will maintain its beauty season after season while you enjoy vibrant color, eye-catching woodgrain, and enhanced protection.
Conclusion
Staining a wood deck can seem daunting for a DIY homeowner. However, the application process requires adequate planning, high-quality stain, proper tools, attention to detail, and patience. The steps outlined above will allow you to roll the stain onto your deck safely and effectively.
Be sure to choose weather conditions between 50-90°F, thoroughly prepare the surface, use rollers and angled brushes to work systematically across the boards, maintain wet edges, and allow the proper drying times between coats. Avoid common mistakes like haste, thickness, and failure to protect surrounding structures.
With care and effort, you can renew your deck with a fresh uniform stain that offers protection, enhances aesthetics, and saves you money compared to costly replacements. Your stained deck will become an eye-catching focal point and gathering spot to enjoy for years.
Frequently Asked Questions About Rolling Stain on a Deck
Staining a deck prompts many common questions. Here are helpful answers:
What’s the easiest way to apply deck stain?
Using a roller is the fastest, least labor-intensive method. It quickly delivers smooth, even coverage. Add brushed touch-ups where needed.
What roller should I use?
Choose a roller with a 1/4″- 3/8″ nap made for oil-based stains. Mini foam rollers are great for spindles and rails. Dispose of rollers after use.
How long should I wait between coats?
Following the manufacturer’s recommendations is crucial, usually 24-48 hours. The stain needs this time to fully cure before applying another coat.
What temperature should it be when staining?
Ideally, 50-90°F. Heat accelerates drying too fast, while cold and dampness prevent proper curing—only stain in optimal conditions.
How soon can I replace the deck furniture after staining?
You’ll need to wait at least 2-3 days for the stain to completely cure before putting items back to avoid smudging.


